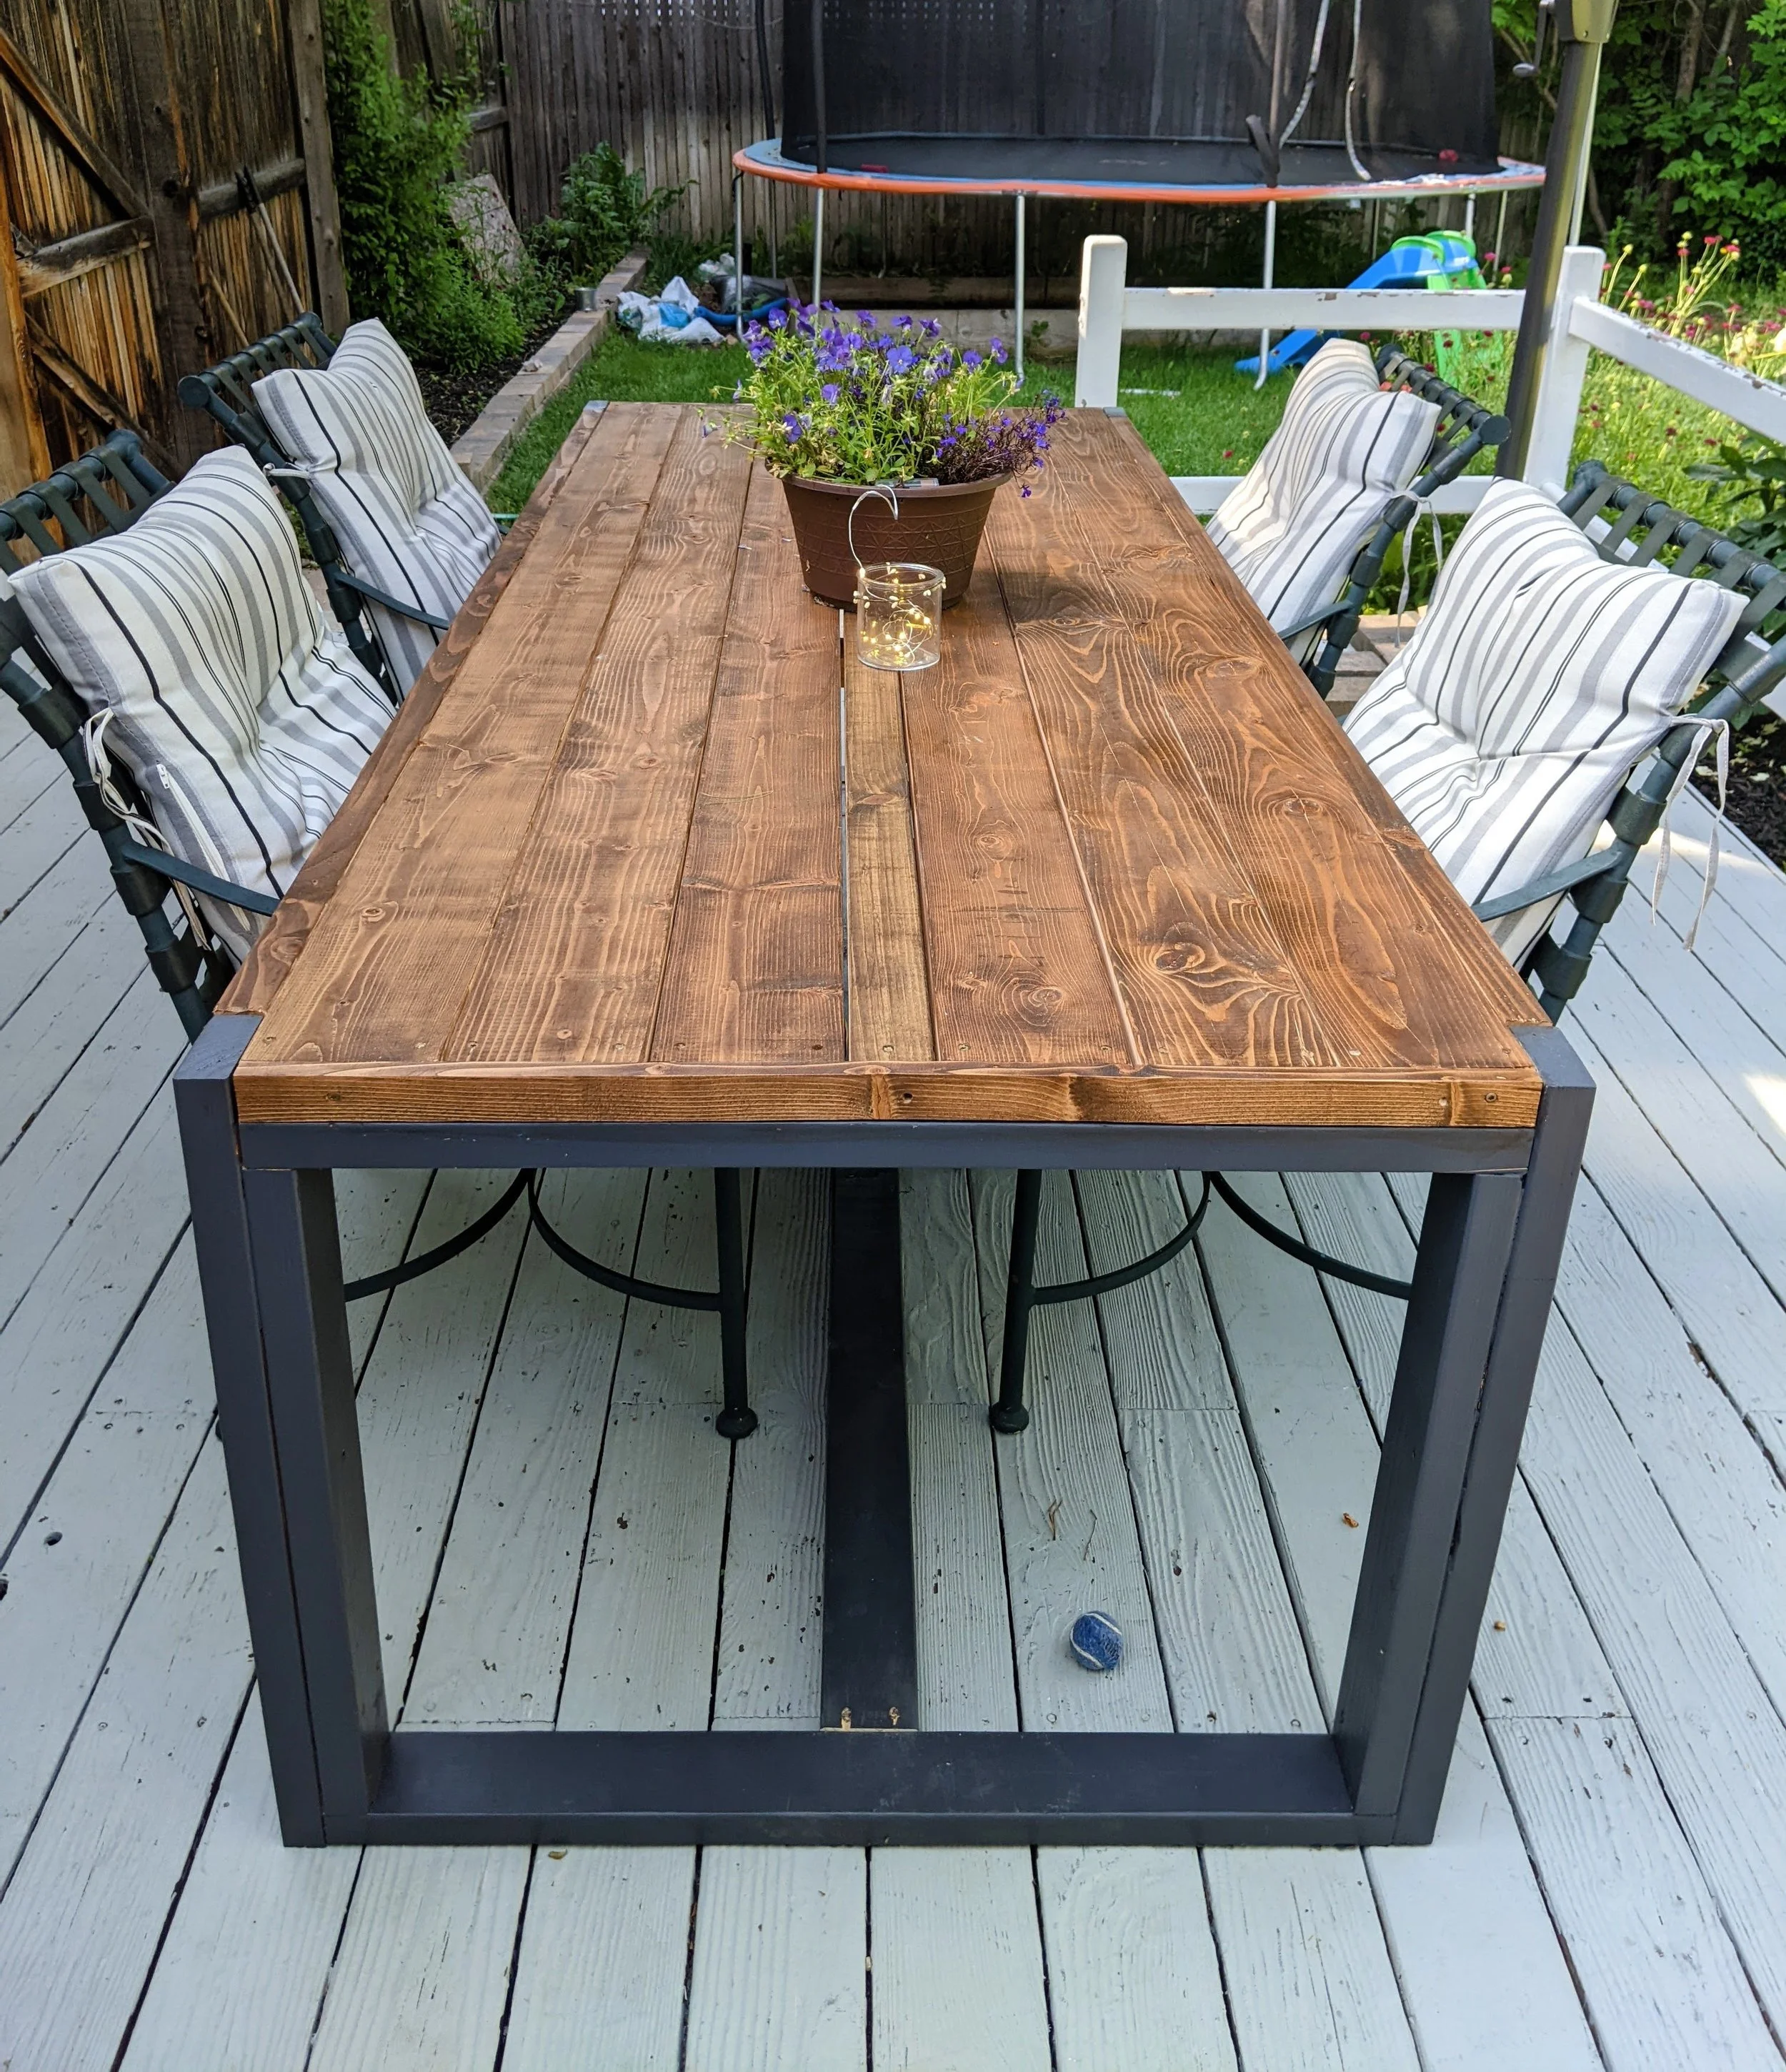
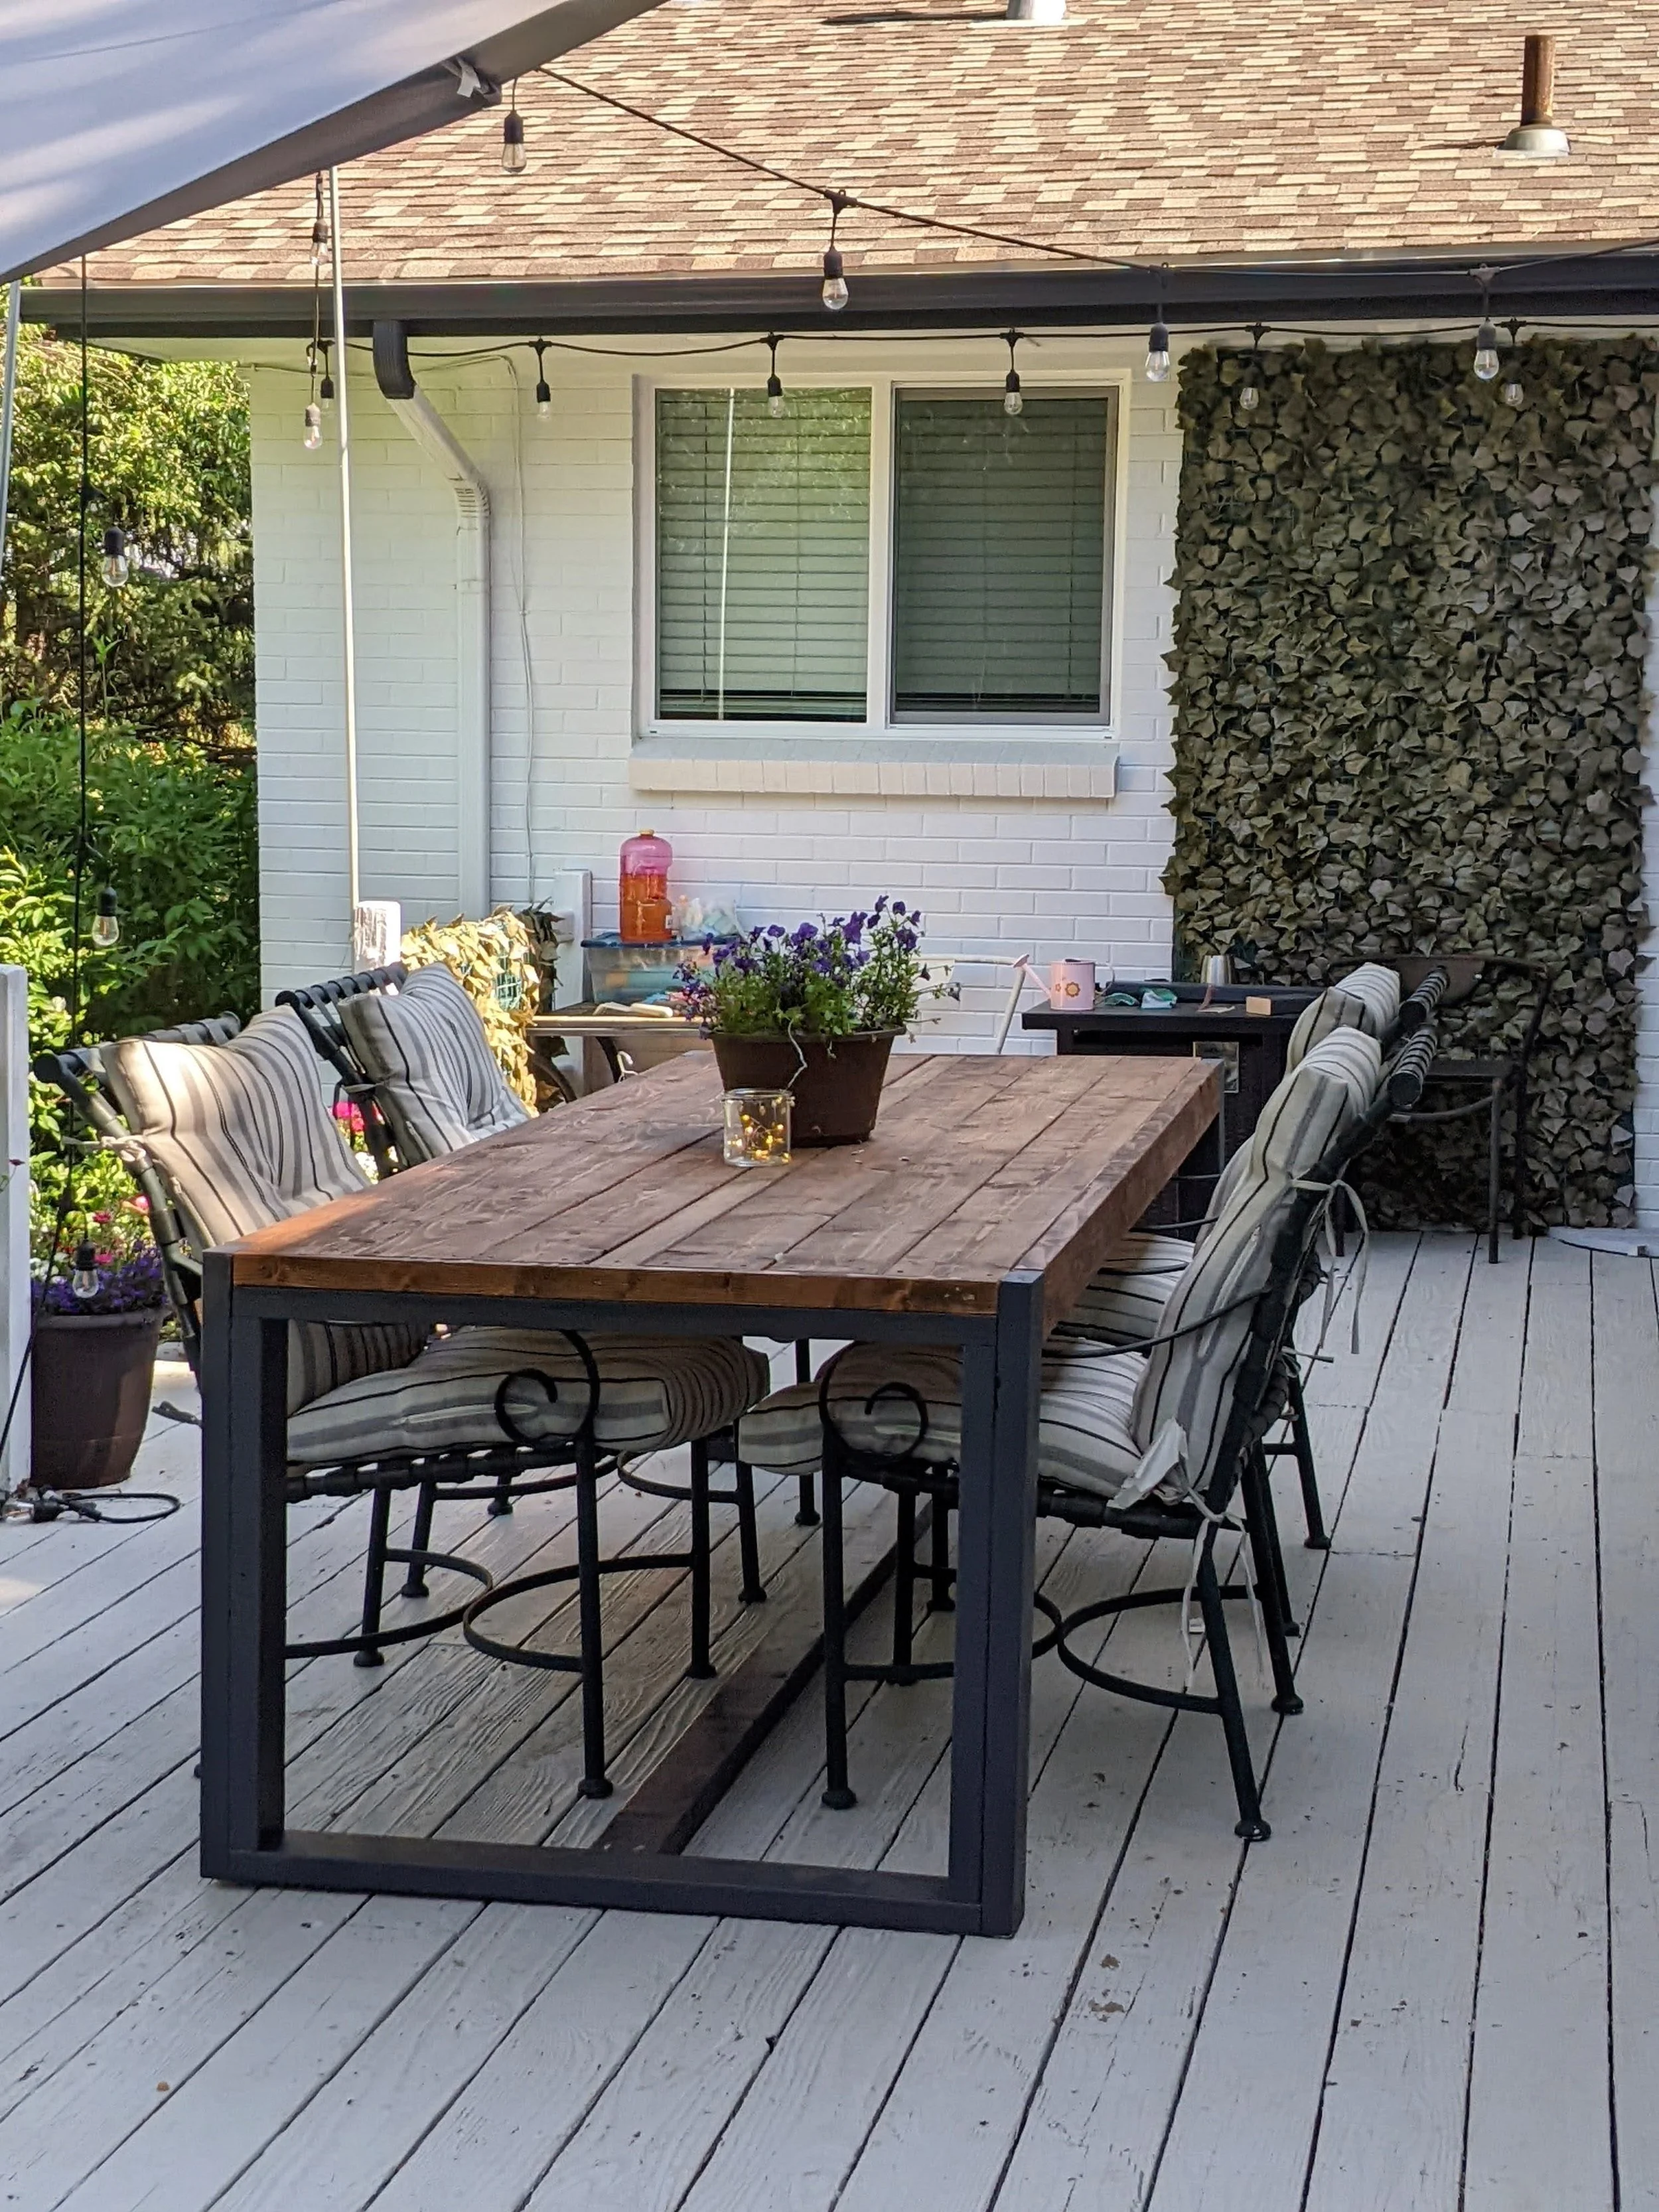
DIY Large Outdoor Dining Table
I love entertaining and cooking for my friends and family. I’m always the host at Thanksgiving, but my house is the opposite of large. Our regular dining area is barely big enough for the 5 of us to eat at, and I actually move my table into our entryway at Thanksgiving to accommodate everyone. I’ve always envisioned an extra large table for people to gather around, have a glass of wine, and just relax with amazing conversation. And since I don’t have room inside, I decided I needed it outside.
Looking for a table online resulted in two problems. 1. The tables were usually always smaller than I wanted. I wanted at least an 8ft long table. And 2. The cost was astronomical if I could find one large enough, usually over $1000, maybe even closer to $2000. Since my frugal self couldn’t find what I wanted, I decided I would just DIY it and it actually wasn’t that hard. No tears at all, and very minimal swear words. Very different from my DIY bathroom project. That’s another blog post coming if I ever actually finish it!
Even though it’s far from perfect, I am super proud of how it turned out. It was my first project with my new miter saw, and definitely won’t be the last! I took my inspiration from this Blog post. It was simple, modern looking, required only simple tools, and used only 2x4s, making it a really inexpensive project, less than $100 inexpensive! There are lots of other tutorials out there, but I liked the look of this one best. Here’s how hers turned out.
Image from arinsolangeathome.com
Here’s how I modified it to make it my own.
The 2x4 top was a little busier than I wanted so I decided to use 2x6’s instead, and since the math didn’t work, I grabbed a 2x3 to fill in the gap, placed it in the middle, and it looks intentional. Yay! Plus, for a future party, I could always pull it out, and place one of those plastic troughs for drinks in the gap.
I also didn’t love the exposed edge of the 2x4s on the table top so I added a piece 1x2 to place on the edge and I love how it turned out.
While this was a simple project, I feel like it needed a bit more reinforcing than the original. I added an extra support on the legs, and lastly, after it was constructed, I added the crossbar on the bottom. This gave it less sway, and made me feel like it would last a bit longer. If I were to make an even larger table in the future, which I might, I’d add a third set of legs in the middle. 8ft is the max I’d do without it. And realistically, if I were to start over, I’d add the third set on the 8ft table as well.
Here’s what I used to make it. You can visit https://arinsolangeathome.com/easy-diy-outdoor-table/ for the full tutorial.
Materials:
(10) 2x4s (6)2x6s (1) 2x3 and I used (1) furring strip for my end caps.
Exterior Wood Screws, box of 100
Wood stain and paint, I used Special Walnut from Minwax, I bought a quart but could have gone with the smaller one and reused some leftover exterior trim paint for the legs.
Varnish or sealant, I had some spray leftover from another project. Not sure how it worked, I may go back and get more.
Sandpaper, I just used 100 grit since it’s designed to be a bit rustic, and I’m a bit impatient.
Tools:
Tape measure
Saw (circular or miter)
Drill
Screwdriver
Clamps, maybe not necessary if you have two set of hands, but I needed one to hold together the legs while I screwing them.
Paintbrushes
Sanding block or electric sander
All in all, it took 2 days to build, and could have been done sooner, but you have to wait for the paint to dry… Plus I sanded and stained with 2 coats vs the original blogger didn’t sand and just sealed their table.
With the additional upgrade to the 2x6’s, it cost about $125 in materials. I’m thrilled I didn’t spend the $1000+ on a table I still would have had to put together. Case in point, less than 24 hours after I finished, I already had some pencil marks from an unnamed 5 year old.
Super proud of my work here. I keep walking to my back door to admire it. Can’t wait to host some amazing dinners on the deck this summer! And maybe a warm Thanksgiving too!
Next up a long bench for one side of the table. And maybe some outdoor couches once I can get the rest of my yard together…


